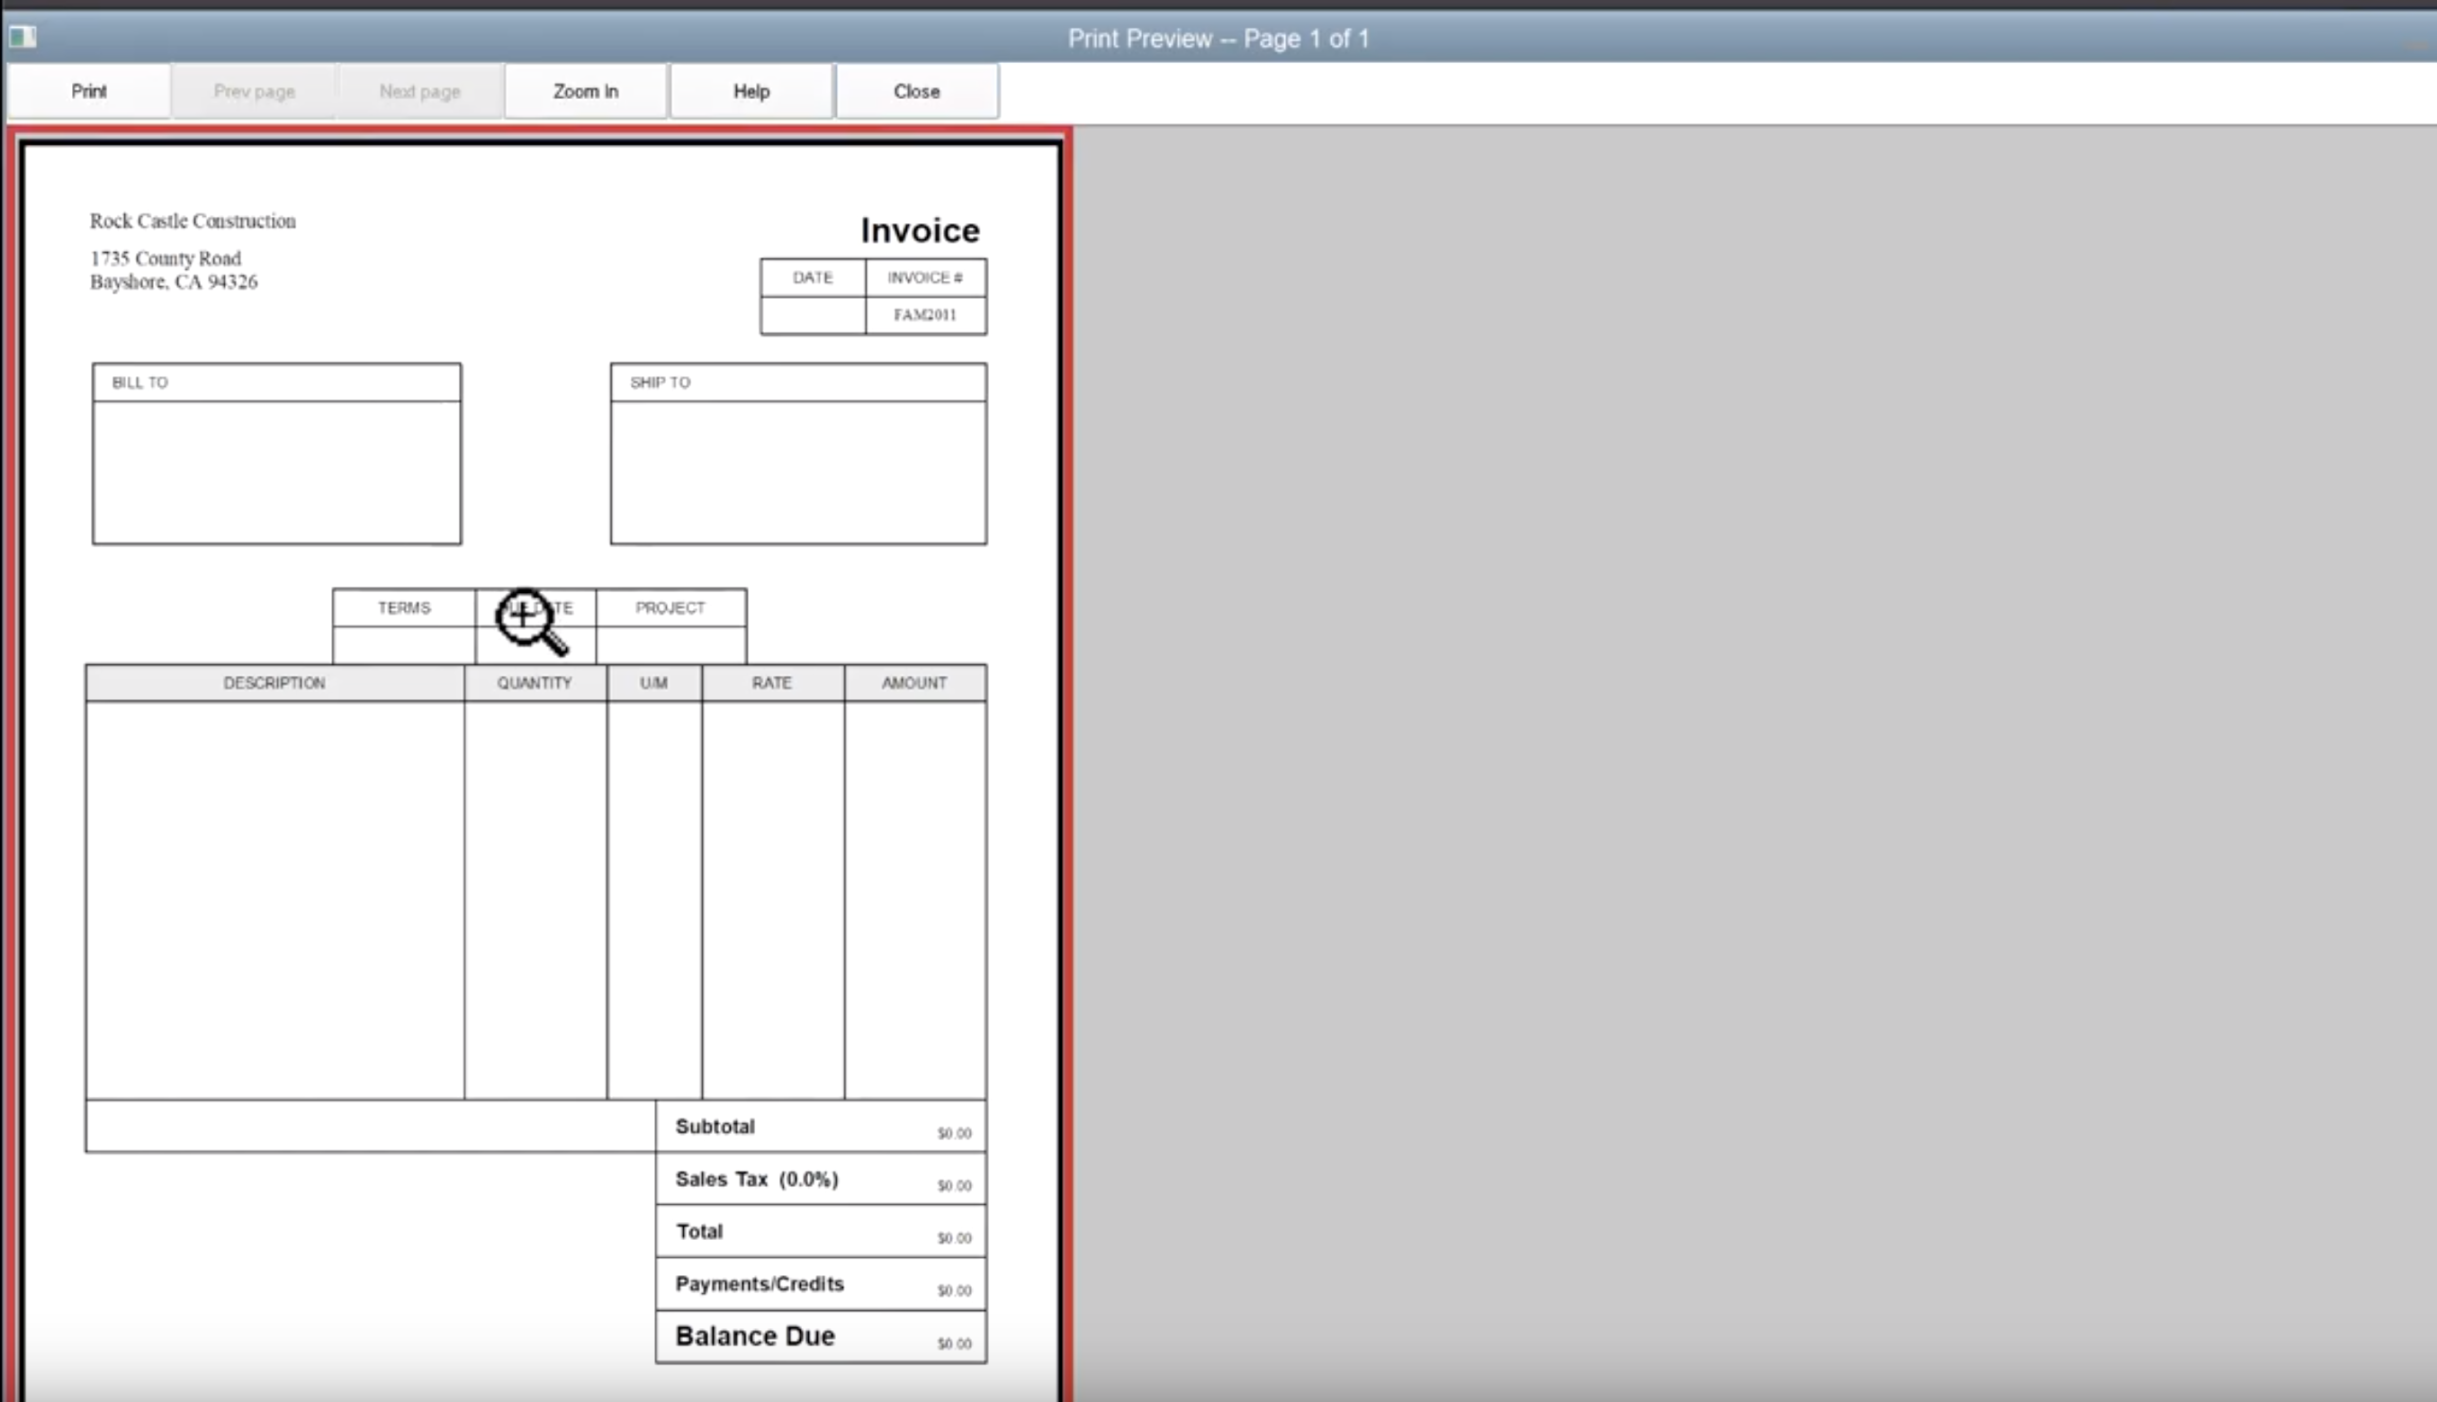
QuickBooks offers a variety of invoice templates to choose from, but you may want to create a custom template that better suits your business needs. This guide will walk you through the steps of changing your invoice template in QuickBooks.
1. Access the Invoice Template Center

To access the Invoice Template Center, go to the Gear icon in the top right corner of your QuickBooks screen and select Customize. Then, click on Invoice.
2. Choose a Template
The Invoice Template Center will display a list of pre-designed templates. You can preview these templates by clicking on them. If you find a template that you like, you can select it and click Use This Template.
3. Customize Your Template
Once you have selected a template, you can customize it to fit your business needs. You can change the following elements:
Font: Choose a font that is easy to read and professional.
4. Save Your Template
Once you have finished customizing your template, click Save to save it. You can give your template a name so that you can easily find it later.
5. Use Your New Template
To use your new template, go to the Create menu and select Invoice. Then, select your new template from the drop-down menu.
Design Elements for Professional and Trustworthy Invoices
When designing your invoice template, it is important to choose design elements that convey professionalism and trust. Here are some tips:
Use a clean and simple layout. A cluttered invoice can be difficult to read and understand.
By following these tips, you can create a professional and trustworthy invoice template that will help you get paid on time.